A single ring is a detail. A well‑stacked set of rings is a signature. Ring stacking looks effortless in photographs yet many of us stop at one or two because we are not sure where to begin: how many rings is too many which fingers to use and whether a moonstone can sit next, to an enamel ring without clashing. The answer is simpler than it seems. This guide shows you how to stack rings with a few rules so your hands look curated rather than crowded.
- Why ring stacking works
- Step 1: Start with an anchor ring
- Step 2: Add smaller supporting rings
- Step 3: Choose your fingers
- Step 4: Mix colours, stones and textures
- Easy ring combinations to try
- Comfort and care tips
- FAQs
1. Why Ring Stacking Works
Stacking works because it turns small pieces into one composition. Instead of every ring competing for attention, the rings support each other: one leads, the others add colour, shine or texture. It is also the most flexible way to wear jewellery. You can build a quiet look for the office or a bolder one for an evening, using the same rings in different combinations.
2. Step One: Start with an Anchor Ring
Every good stack begins with an anchor, usually your most eye-catching ring. It could be a gemstone ring with a bold centre or an enamel design with rich colour. Wear it on the finger that feels most natural, then build around it. Our rings collection includes several statement pieces that work well as an anchor.


3. Step Two: Add Smaller Supporting Rings
Once your anchor is in place, add one or two lighter rings. The easiest formula is one statement, one medium, one delicate. The medium ring echoes the colour or shape of the anchor, and the delicate ring gives the eye a place to rest. If two rings look equally bold, move one to the other hand so they do not compete.
4. Step Three: Choose Your Fingers
You do not need to fill every finger. In fact, leaving a few bare makes the stack stand out. Here is a simple way to place rings:
- Index finger: a great place for a statement ring, as it is always visible when you gesture.
- Middle finger: the longest finger and a natural home for a bold gemstone.
- Ring finger: classic, comfortable and perfect for a medium or delicate ring.
- Little finger: ideal for a slim accent ring.
- Thumb: best reserved for a simple band or open style if you want a relaxed, boho feel.
5. Step Four: Mix Colours, Stones and Textures
This is where a stack gets its personality. A few guidelines make mixing easy:
- Pick one colour story. For example, soft blues and whites, or warm pinks and golds. Repeat each colour at least twice.
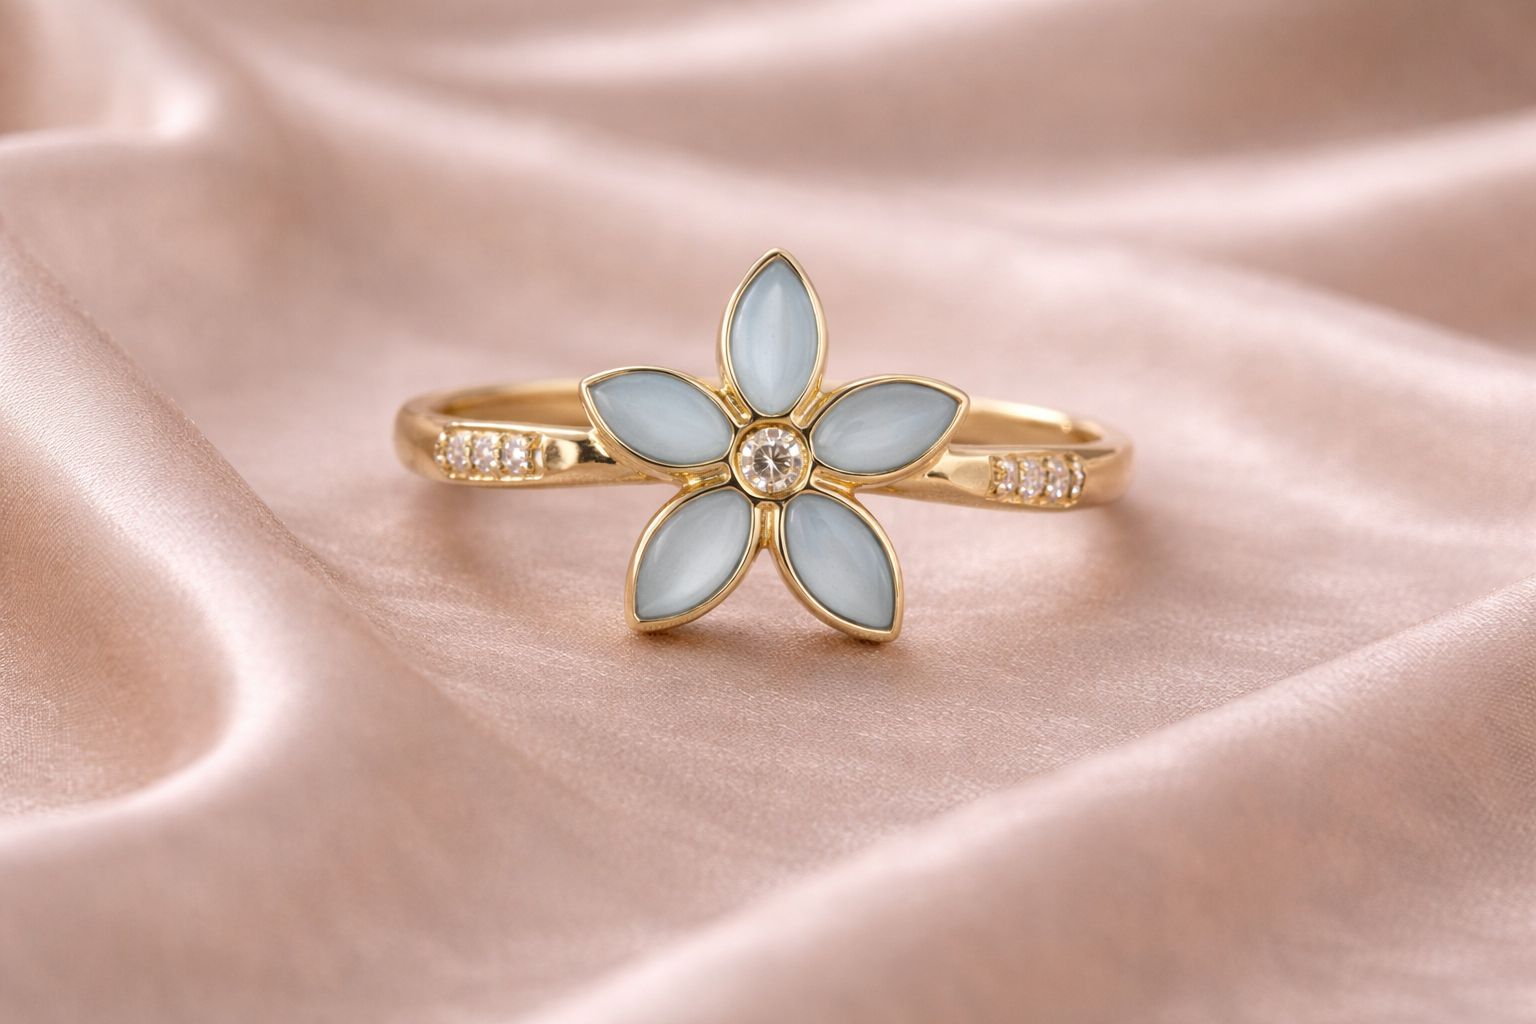
- Pair a bold ring with calm neighbours. A moonstone or a plain band sits well beside a colourful enamel ring.
- Mix textures, not just stones. Smooth gemstones, enamel work and floral shapes look interesting together when the colours are related.
- Mix tones with intention. Gold-tone and silver can share a hand when each appears more than once.

6. Easy Ring Combinations to Try
| Look | How to build it |
|---|---|
| Everyday minimal | One slim ring on the ring finger and one small accent ring on the little finger of the other hand |
| Soft and floral | Two floral or moonstone rings on one hand, with a simple band on the other |
| Bold colour | One enamel statement ring as the anchor, with two calm, neutral rings beside it |
| Evening glam | A statement gemstone ring on the middle finger and a delicate ring on the index finger of the opposite hand |
| Boho layered | An open ring on the thumb, a slim ring on the index finger and a gemstone ring on the ring finger |


7. Comfort and Care Tips
- Check the fit. Rings should sit comfortably, not tightly, as fingers can swell slightly during the day.
- Avoid placing two bulky rings side by side. They can press against each other and feel uncomfortable.
- Put rings on last. Apply lotion, perfume and hand cream first so products do not sit on the stones and settings.
- Remove rings for washing, workouts and chores. Water, soap and knocks can dull the shine and wear the settings.
- Store rings separately in a soft pouch so stones do not scratch each other.
Final Thoughts
The best ring stack is the one that feels like you. Start with one anchor, add a couple of supporting rings, keep a colour story in mind and leave a little space. Then experiment. Explore the full Style of Meraki rings collection and see which combinations you love.
Frequently Asked Questions
How many rings should I wear at once?
There is no fixed number, but three to five rings across both hands looks balanced for most people. Start with one statement ring and add one or two smaller ones.
Which fingers are best for stacking rings?
The index and ring fingers are the easiest places to start. The middle finger suits a statement ring, and the little finger and thumb work well for a slim accent ring.
Can I mix different gemstones in a ring stack?
Yes. Keep one colour story or one main stone, then add neutral pieces around it so the stack looks planned rather than crowded.
Should I mix gold-tone and silver rings?
Yes, mixing tones is fine. Repeat each tone at least twice across your hands so the mix looks intentional.
How do I stop stacked rings from feeling uncomfortable?
Choose the right size, avoid placing two bulky rings next to each other, and take rings off when your hands swell or when you are washing, exercising or applying lotion.
Want a ring made just for you?
Tell us the stone, colour or design you have in mind and we will craft it in silver for you.